
Over the past few weeks, we’ve shared instructions for our recently-added Custom DIY silhouettes from the 2016 Build a Wardrobe program. These new projects are not included in our Alabama Studio books, but the instructions for the four patterns from last year are now available online. So far, we’ve shared instructions for the Maggie Dress, Alabama Sweater, and Walking Cape. This week, we finish the series with instructions for the Full Wrap Skirt and variations. You may also download a printable PDF with instructions through the links after each pattern variation. Find all of our digital patterns and stencil artwork on our Resources page.
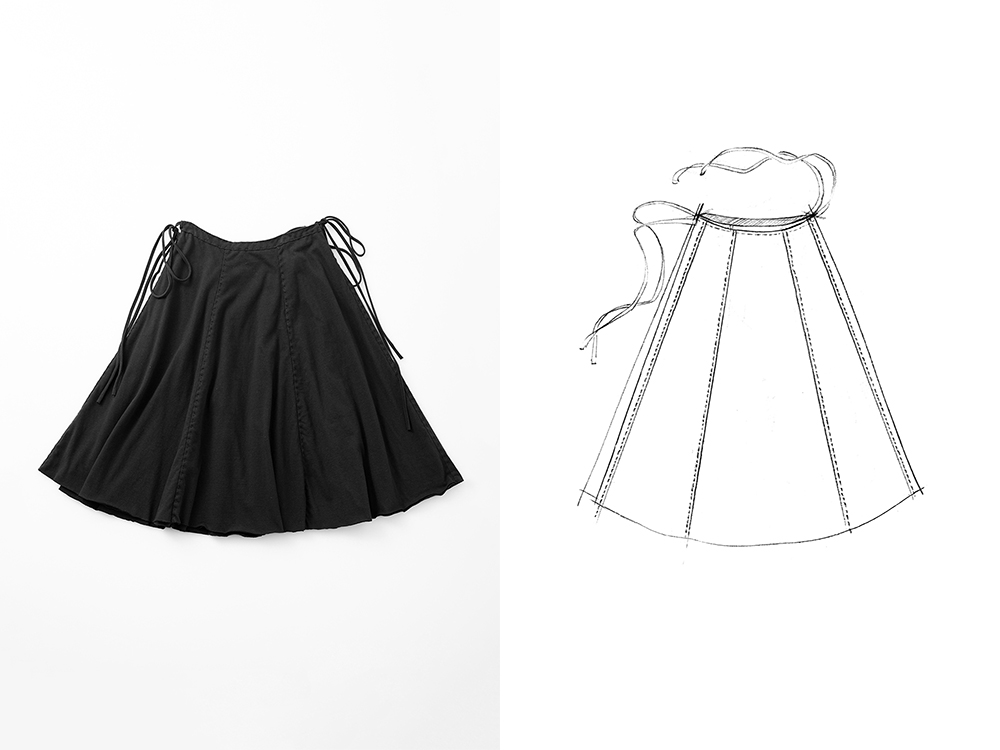
FULL WRAP SKIRT INSTRUCTIONS
1. Baste Waistline
To ensure that the waistline on your cut-fabric pieces does not stretch while you construct the skirt, use a single strand of all-purpose thread to baste the waistline edges of each cut piece, as noted on the pattern.
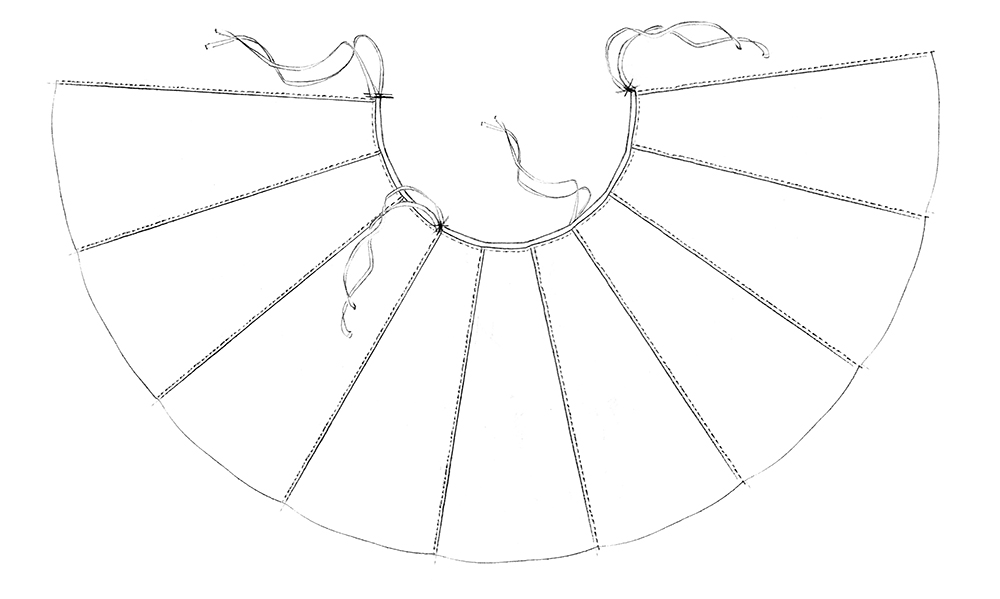
2. Construct Skirt
After basting the waistline edge of all body pattern pieces, pin two of the body panels together on one seam with right sides together and edges aligned. When pinning knit seams for construction, it is important to follow a method we call “pinning the middle”. Start by pinning the beginning of your seam, and follow by pinning the end of your seam. Then place one pin in the middle, between the two initial pins. Continue by pinning in the middle of each set of pins, until your seam is securely pinned and ready to sew.
Thread your needle, love your thread, and knot off. Using a straight stitch, sew the pinned pieces together, starting at the skirt’s waistline and stitching ¼” from the fabric’s cut edges down to the bottom edge. Be sure to begin and end each seam by wrap-stitching (see page 12 of this document) its edges to secure them. Leave your seams floating, or fell your seams by stitching down the center of the seam allowances, using a straight stitch and wrap-stitching the beginning and end of each seam.
Once the first seam is complete, open the first two panels with right sides facing up. Pin the next panel of the skirt—right side down—on top of one of the first panels to create your next seam. Follow the instructions above to construct and fell (optional) the seam. Continue to do this until all nine panels are sewn together. Do not join the two outside panels.
3. Add Facing to Front Panels
Pin your cut facing piece to the Full Wrap Skirt front panel, with right sides together and the edges aligned. Thread your needle, love your thread, and knot off. Using a straight stitch, sew the pinned pieces together, starting at the top edge of the center front and stitching ¼” from the fabric’s cut edges down to the bottom edge. Be sure to begin and end the seam by wrap-stitching its edges to secure them.
Once you have constructed this seam, gently steam the seam open with an iron, and then fold the facing back to create a clean-finished seam that encases the seam allowances, and pin it into place. Using a straight stitch, topstitch through all of the layers ¼” from the front edge to secure the facing in place.
Repeat this process with the second facing on the final panel.
4. Add Waistband
To add the waistband, start by placing the two cut waistbands with right sides together and the edges aligned, and begin stitching at the short end, and then sew across top of band and the other short end, wrap-stitching at both ends of the seam. Turn the waistband right side out, and press it.
With right sides together and the edges aligned, pin one edge of the waistband to the skirt’s waist, and join the two with a ¼” seam. Turn the other edge of the waistband under ¼” on the skirt waist’s wrong side, and topstitch through all layers 1/8” from the folded edge.
Topstitch the ends and top of waistband 1/8” from the folded edge, starting at the short end, sewing across the top of the band, and ending at the other short end.
5. Add Ties
Working along the grain of the fabric, cut four ties for the waist of the skirt that are 36” long by 1 1/4” wide. Place one unfolded, raw-edged tie at the end of the waistband on the right side of skirt’s right front edge, with right sides together and matching the end of the tie to the end of the waistband. Stitch 1/4” from the fold, wrap-stitching at the beginning and end of stitching line. Fold the tie back over the sewn edge, and stitch the edge again ¼” from the fold, wrap-stitching again at the beginning and end of the seam to produce a clean-finished edge that encases the seam allowances. Repeat this process on the left side of the skirt’s front edge.
Place the other tie at the side seam, and stitch it in place the same way you attached the first tie.
Download a printable PDF of instructions for the Full Wrap Skirt here.

PULL-ON SKIRT INSTRUCTIONS
1. Baste Waistline
To ensure that the waistline on your cut-fabric pieces does not stretch while you construct the skirt, use a single strand of all-purpose thread to baste the waistline edges of each cut piece, as noted on the pattern.
2. Construct Skirt
After basting the waistline edge of all body pattern pieces, pin two of the body panels together on one seam with right sides together and edges aligned. When pinning knit seams for construction, it is important to follow a method we call “pinning the middle”. Start by pinning the beginning of your seam, and follow by pinning the end of your seam. Then place one pin in the middle, between the two initial pins. Continue by pinning in the middle of each set of pins, until your seam is securely pinned and ready to sew.
Thread your needle, love your thread, and knot off. Using a straight stitch, sew the pinned pieces together starting at the skirt’s waistline and stitching ¼” from the fabric’s cut edges down to the bottom edge. Be sure to begin and end each seam by wrap-stitching (see page 12 of this document) its edges to secure them. Leave your seams floating, or fell your seams by stitching down the center of the seam allowances, using a straight stitch and wrap-stitching the beginning and end of each seam.
Once the first seam is complete, open the first two panels with right sides facing up. Pin the next panel of the skirt—right side down—on top of one of the first panels to create your next seam. Follow the instructions above to construct and fell (optional) the seam. Continue to do this until all six panels are sewn together. Join the outer two panels.
3. Add Waistband
Using 1”-wide fold-over elastic and starting at the skirt’s center-back waistline, encase the waistline’s raw edge with the folded elastic, and pin it in place. Overlap the elastic’s raw edges at the center back by about ½”, and trim any excess elastic. Using the stretch stitch of your choice, sew through all the layers down the middle of the elastic.
Download a printable PDF of instructions for the Pull-On Skirt here.

APRON SKIRT INSTRUCTIONS
1. Baste Waistline
To ensure that the waistline on your cut-fabric pieces does not stretch while you construct the skirt, use a single strand of all-purpose thread to baste the waistline edges of each cut piece.
2. Add Embroidery
Add embellishment, as desired. Use one of our Alabama Studio Series books for inspiration. If you’re adding beading, avoid beading in 1/4” seam allowance.
3. Construct Skirt
After basting the waistline edge of all body pattern pieces, pin two of the body panels together on one seam with right sides together and edges aligned. When pinning knit seams for construction, it is important to follow a method we call “pinning the middle”. Start by pinning the beginning of your seam, and follow by pinning the end of your seam. Then place one pin in the middle, between the two initial pins. Continue by pinning in the middle of each set of pins, until your seam is securely pinned and ready to sew.
Thread your needle, love your thread, and knot off. Using a straight stitch, sew the pinned pieces together starting at the skirt’s waistline and stitching 1/4” from the fabric’s cut edges down to the bottom edge. Be sure to begin and end each seam by wrap-stitching its edges to secure them. Leave your seams floating, or fell your seams by stitching down the center of the seam allowances, using a straight stitch and wrap-stitching the beginning and end of each seam.
Once the first seam is complete, open the first two panels with right sides facing up. Pin the next panel of the skirt—right side down—on top of one of the first panels to create your next seam. Follow the instructions above to construct and fell (optional) the seam. Continue to do this until all five panels are sewn together. Do not join the two outside panels.
4. Add Facing to Front Panels
Pin your facing piece to the Apron Skirt front panel, with right sides together and the edges aligned. Thread your needle, love your thread, and knot off. Using a straight stitch, sew the pinned pieces together, starting at the top edge of the center front and stitching 1/4” from the fabric’s cut edges down to the bottom edge. Be sure to begin and end the seam by wrap-stitching its edges to secure them.
Once you have constructed this seam, gently steam the seam open with an iron, and then fold the facing back to create a clean-finished seam that encases the seam allowances, and pin it into place. Using a straight stitch, topstitch through all of the layers 1/4” from the front edge to secure the facing in place.
Repeat this process with the second facing.
5. Add Waistband
To add the waistband, start by placing the two cut waistbands with right sides together and the edges aligned, and begin stitching at the short end, and then sew across top of band and the other short end, wrap-stitching at both ends of the seam. Turn the waistband right side out, and press it.
With right sides together and the edges aligned, pin one edge of the waistband to the skirt’s waist, and join the two with a 1/4” seam. Turn the other edge of the waistband under 1/4” on the skirt waist’s wrong side, and topstitch through all layers 1/8” from the folded edge.
Topstitch the ends and top of waistband 1/8” from the folded edge, starting at the short end, sewing across the top of the band, and ending at the other short end.
6. Add Ties
Use the two ties for the waist of the skirt that are 36” long by 1 1/4” wide. Place one unfolded, raw-edged tie at the end of the waistband on the right side of skirt’s right front edge, with right sides together and matching the end of the tie to the end of the waistband. Stitch 1/4” from the fold, wrap-stitching at the beginning and end of stitching line. Fold the tie back over the sewn edge, and stitch the edge again 1/4” from the fold, wrap-stitching again at the beginning and end of the seam to produce a clean-finished edge that encases the seam allowances. Repeat this process on the left side of the skirt’s front edge.
Download a printable PDF of instructions for the Apron Skirt here.